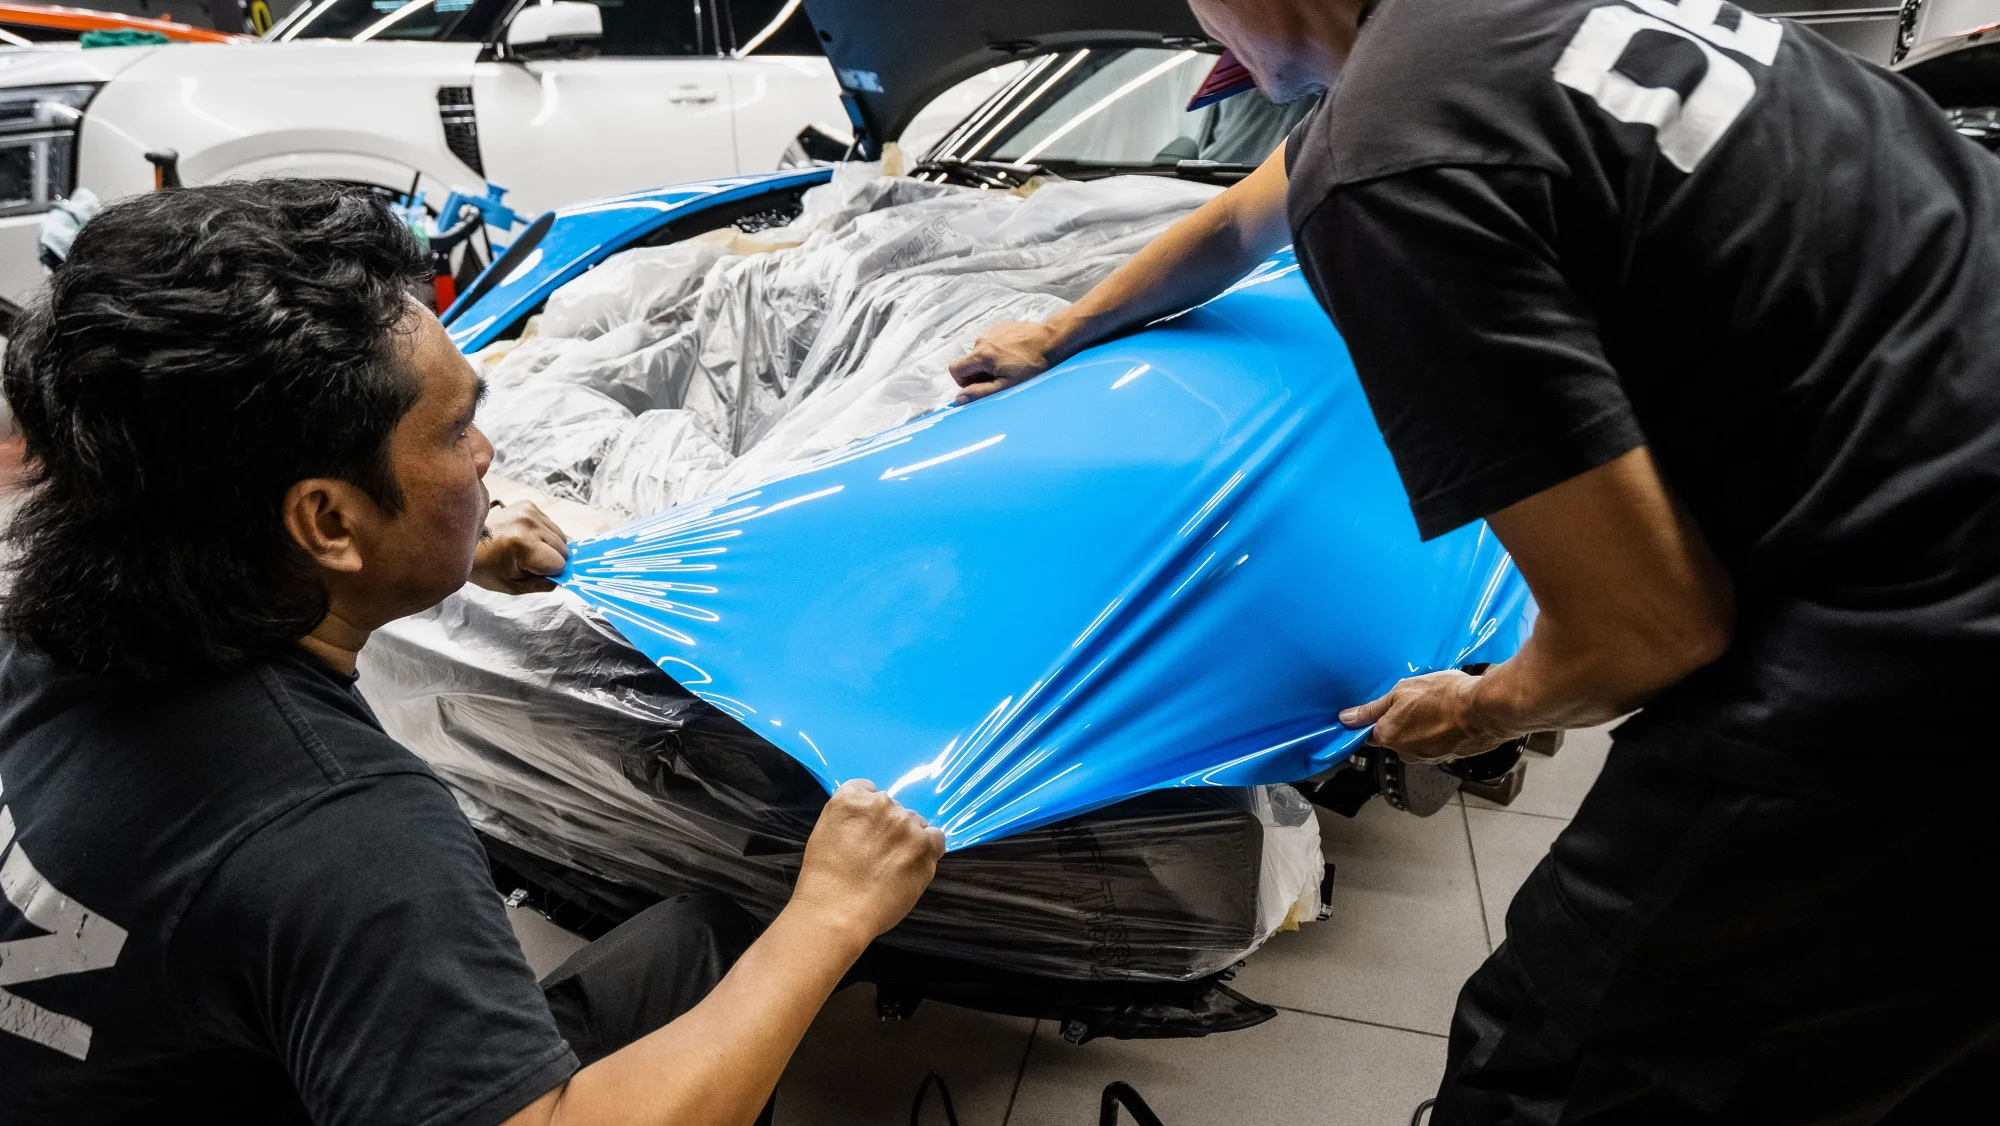
A car is ready for vinyl wrap only when its painted surfaces, panel edges, trim, and seams are clean, dry, stable, and free fr om residues that interfere with adhesion. A wash alone does not achieve that. Proper surface preparation starts with inspection, then moves through washing, drying, decontamination, correction wh ere needed, and a final panel check in a controlled indoor area. In Dubai, airborne dust, sand, and hot body panels add another layer of risk: a vehicle can look clean outside and still carry fine contamination where vinyl film will later lift.
Surface preparation is the work completed before vinyl film installation to create a clean, dry, smooth, and stable bonding surface.
What preparation for vinyl wrap includes
Preparation for vinyl wrap means checking the vehicle's condition and removing anything that can prevent the film from sitting flat or bonding consistently. The target is not a shiny car. It is a stable surface with no loose paint, trapped dirt, wax residue, moisture, or contamination in panel gaps.
A routine wash removes visible road grime. Surface preparation goes further: it includes inspection, washing, drying, decontamination, residue removal, and final checks around panel edges.
Decontamination is the removal of bonded particles, oils, tar, metal fallout, adhesive residue, and other contaminants that ordinary washing leaves behind.
Paint correction is different again. It may reduce visible scratches, haze, or old polishing marks where the paint is sound. It does not repair corrosion, peeling clear coat, cracked filler, or unstable repainting. Vinyl wrap is a finish applied over bodywork; it is not a substitute for bodywork repair.
What must be resolved before installation
- Loose, flaking, blistered, or peeling paint must be repaired before wrapping.
- Corrosion, dents with cracked paint, and unstable previous repairs require bodywork attention.
- Wax, ceramic spray, silicone dressing, oil, and grease must be removed from painted panels and panel edges.
- Moisture must be cleared from seals, mirrors, lights, badges, trims, and panel gaps.
- Loose badges, trim pieces, seals, and damaged clips should be identified before the vinyl film is cut or fitted.
- Dust trapped under a panel edge should be removed before installation, not pushed aside with a squeegee.
A car can be polished and still be unsuitable for vinyl wrap. A freshly glossy surface may carry silicone or sealant residue. Nice shine, wrong foundation.
Dubai conditions that affect vinyl wrap preparation
Dubai conditions make indoor control part of surface preparation. Sand and airborne dust settle in panel gaps, door shuts, badge edges, and rubber seals, then migrate onto the vinyl film during installation. Heat creates a second problem: panels exposed to the sun can remain hot after the vehicle has been moved indoors.
Film bonding depends on the panel being clean and settled. If heat causes cleaners to evaporate too quickly, residue can remain on the surface. If dust enters during the final wipe, it can create a visible contamination mark under the vinyl film.
Allow a vehicle to cool in the preparation area before cleaning or installation if it has been parked outside. Don't judge panel temperature by the cabin air-conditioning. The bonnet, roof, and upper door sections often tell a different story.
Conditions to control before the final wipe
- Work indoors with doors closed as far as the job allows.
- Sweep and clean the floor before the vehicle enters the installation area.
- Keep sanding, polishing, tyre dressing, and other dust-producing work away from the wrap bay.
- Use bright, even lighting to expose dust, adhesive residue, chips, and paint defects.
- Dry water from mirrors, window seals, handles, badges, lamp edges, and panel gaps.
- Keep the vehicle out of direct sun until preparation and installation are complete.
Why be so strict about dust that is barely visible? Because vinyl film does not erase it. It traps it, outlines it, or gives it a route to the edge.
Dubai checks before applying a color-change wrap
A color-change wrap should be planned only after the owner has checked the applicable requirements for the vehicle's emirate, registration status, and use. Requirements can differ according to where the car is registered and how it is used, so they should be confirmed before film selection, installation, or advertising the vehicle for sale.
Ask the relevant Dubai transport authority which colour description, inspection, approval, or registration update may apply to the proposed change. Confirm what information is required if the wrap covers most visible painted surfaces, rather than acting as a small styling accent.
Speak with the insurer before installation if the policy records the vehicle's colour, declared modifications, agreed value, or repair conditions. The useful question is simple: does the insurer need notification, photographs, an endorsement, or revised vehicle details?
A professional workshop may ask for identification, vehicle registration information, written approval, or confirmation of the chosen colour. The owner should confirm those requirements in advance. A late paperwork issue can stall an otherwise finished job.
Inspecting paint, trim, and bodywork before wrapping
Inspection decides whether a vehicle needs cleaning, paint correction, or bodywork repair. Do this before buying film or scheduling installation, especially on collector cars, resprayed panels, and vehicles with unknown repair history.
Paint correction is controlled polishing or refinement of sound paint to improve its surface condition. It cannot stabilise failing paint or repair damaged bodywork.
Look at the car under direct inspection lighting, not only under workshop ceiling lights. Check each panel from more than one angle. Fine scratches may be acceptable beneath some finishes; loose clear coat is not.
Inspection checklist for a wrap-ready vehicle
| Area | What to inspect | Preparation decision |
|---|---|---|
| Painted panels | Chips, peeling clear coat, bubbling, deep scratches, repaint edges | Correct sound paint where appropriate; repair unstable paint first |
| Bodywork | Corrosion, dents, cracked filler, sharp damaged edges | Complete bodywork repair before vinyl film installation |
| Panel edges | Dirt, polish residue, old adhesive, chipped paint | Clean and stabilise before the final surface check |
| Seals and trims | Loose rubber, degraded trim, lifting mouldings, broken clips | Repair or refit parts before wrapping around them |
| Badges and handles | Adhesive residue, movement, corrosion around fixings | Agree removal or masking method before installation |
| Panel gaps | Sand, trapped water, road film, old wax | Flush, clean, dry, and inspect again |
Previous repairs deserve extra attention. A panel may look fine until masking tape, cleaning fluid, or a test wipe reveals a weak paint edge. If paint is lifting already, vinyl film can pull against that weakness during installation or later removal.
A common belief is that a wrap hides every flaw. It hides some visual defects from a distance. It does not stop a damaged panel from deteriorating beneath it.
Step-by-step vehicle preparation before vinyl wrap
The correct sequence moves from condition assessment to final surface control. Skipping ahead usually means repeating work later, especially when contamination appears around a seal or panel edge after washing.
| Stage | What happens | Typical time requirement | What extends the work |
|---|---|---|---|
| Initial inspection | Check paint, bodywork, trims, badges, seals, and panel edges | Short assessment to a longer workshop inspection | Previous repairs, paint damage, corrosion, loose trim |
| Workspace preparation | Clean the indoor area, arrange lighting, allow hot panels to cool | Short setup period | Dusty premises, recently driven vehicle, hot panels |
| Pre-wash and wash | Remove loose sand, dirt, road film, and visible grime | Usually a standard wash cycle | Heavy road contamination, dirt in wheel arches and shuts |
| Drying | Dry panels, trims, seals, mirrors, badges, and gaps | Often longer than expected | Water trapped behind trim or inside panel edges |
| Decontamination | Remove bonded contaminants, tar, fallout, old adhesive, and residues | Varies by paint condition | Neglected paint, overspray, old protective products |
| Paint correction decision | Refine sound paint or stop for bodywork repair | Depends on defects found | Deep scratches, unstable paint, poor previous repainting |
| Final surface cleaning | Use a suitable panel-prep solution and lint-free wipes | Short but controlled stage | Oils, fingerprints, missed residue, repeat cleaning |
| Final edge and seam check | Confirm dry, clean panel edges and stable trim before installation | Final inspection stage | Residual moisture, dust, loose badges, dirty gaps |
The sequence in plain terms
Start with inspection. If the paint is unstable, pause the wrap plan and resolve that condition first. Washing a damaged panel does not make it ready.
Wash next, then dry thoroughly. Drying matters because water held behind a badge or rubber seal can emerge later when the panel is handled. That moisture can interfere with adhesion at the edge.
Decontaminate after washing. Washing removes loose dirt; decontamination removes what has bonded to the paint. The distinction matters because a smooth-looking panel can still hold tar, metal particles, or old adhesive.
Complete paint correction only where the paint is sound and correction is actually needed. Then carry out the final surface cleaning and inspect the panel edges one more time. This is the stop point before vinyl film installation.
No shortcuts here.
Why preparation quality determines wrap results
Preparation quality determines wrap results because vinyl film follows the surface beneath it. It conforms around edges, badges, curves, and panel gaps. It cannot separate dust from paint, dry moisture hidden behind trim, or bond reliably through wax.
| Inadequate preparation condition | What happens at installation | Likely wrap outcome |
|---|---|---|
| Fine dust or sand remains on the panel | Particles sit between paint and vinyl film | Contamination marks, raised spots, or visible specks |
| Moisture remains in gaps or behind seals | Water moves toward the film edge during handling | Edge lifting or inconsistent adhesion |
| Wax, oil, silicone, or polish residue remains | The adhesive contacts residue rather than clean paint | Early lifting, poor bonding, or local failure |
| Tar, old adhesive, or bonded fallout is left in place | The film conforms over contamination | Texture shows through and may affect finish quality |
| Loose paint or failing clear coat is covered | The film attaches to an unstable layer | Paint may lift or tear when the film is removed |
| Loose trim or damaged badges are ignored | Movement creates stress at nearby edges | Wrinkles, lifting, or uneven film termination |
Bubbles are not all the same. A small trapped air pocket may be addressed during installation, while contamination beneath the film creates a physical obstruction that remains visible. Moisture produces another pattern: it can appear harmless at first, then affect an edge after the car has left the workshop.
Poor preparation does not always fail on day one. That's what makes it expensive.
Preparation mistakes that cause wrap defects
Most wrap defects linked to preparation begin with reasonable-looking decisions made too quickly. The car was washed. The panel felt dry. The film went on. Then the hidden residue, water, or dust showed up.
Errors that mean the process should restart
- Continuing after a panel has been touched with bare hands following the final wipe can reintroduce skin oils. Clean that area again.
- Installing vinyl film over a hot panel can make cleaning products flash off too quickly. Allow the panel to cool, then repeat the final surface cleaning.
- Wiping only the visible face of a panel leaves contamination in edges and seams. Reclean the surrounding gap before proceeding.
- Drying painted panels while leaving water behind badges, mirrors, handles, or seals creates a later moisture risk. Blow out and dry those areas again.
- Using wax-containing shampoo or fresh gloss products before wrapping can leave bonding residue. Wash and decontaminate again with suitable products.
- Treating peeling paint as a cosmetic issue risks damage during future removal. Stop and arrange repair.
- Allowing dust-producing polishing or sanding near the installation bay can contaminate the final wipe. Clean the area and repeat surface preparation.
The contrast is straightforward: washing deals with dirt you can see, while decontamination deals with material that has attached itself to the surface. One cannot replace the other.
When professional preparation is the safer choice
Professional preparation is the safer choice when the vehicle has damaged paint, prior bodywork, complex trim, expensive finishes, uncertain paint history, or contamination that cannot be assessed with a basic wash. It is also the sensible route when controlled indoor conditions, paint measurement, compressed air, or paint correction are needed.
For a premium, sports, or collector car, the decision is less about avoiding effort and more about reducing unknowns. A car with a prior respray may need a careful inspection before any adhesive-backed material is applied. There is no prize for discovering weak paint during removal.
What a professional workshop should define
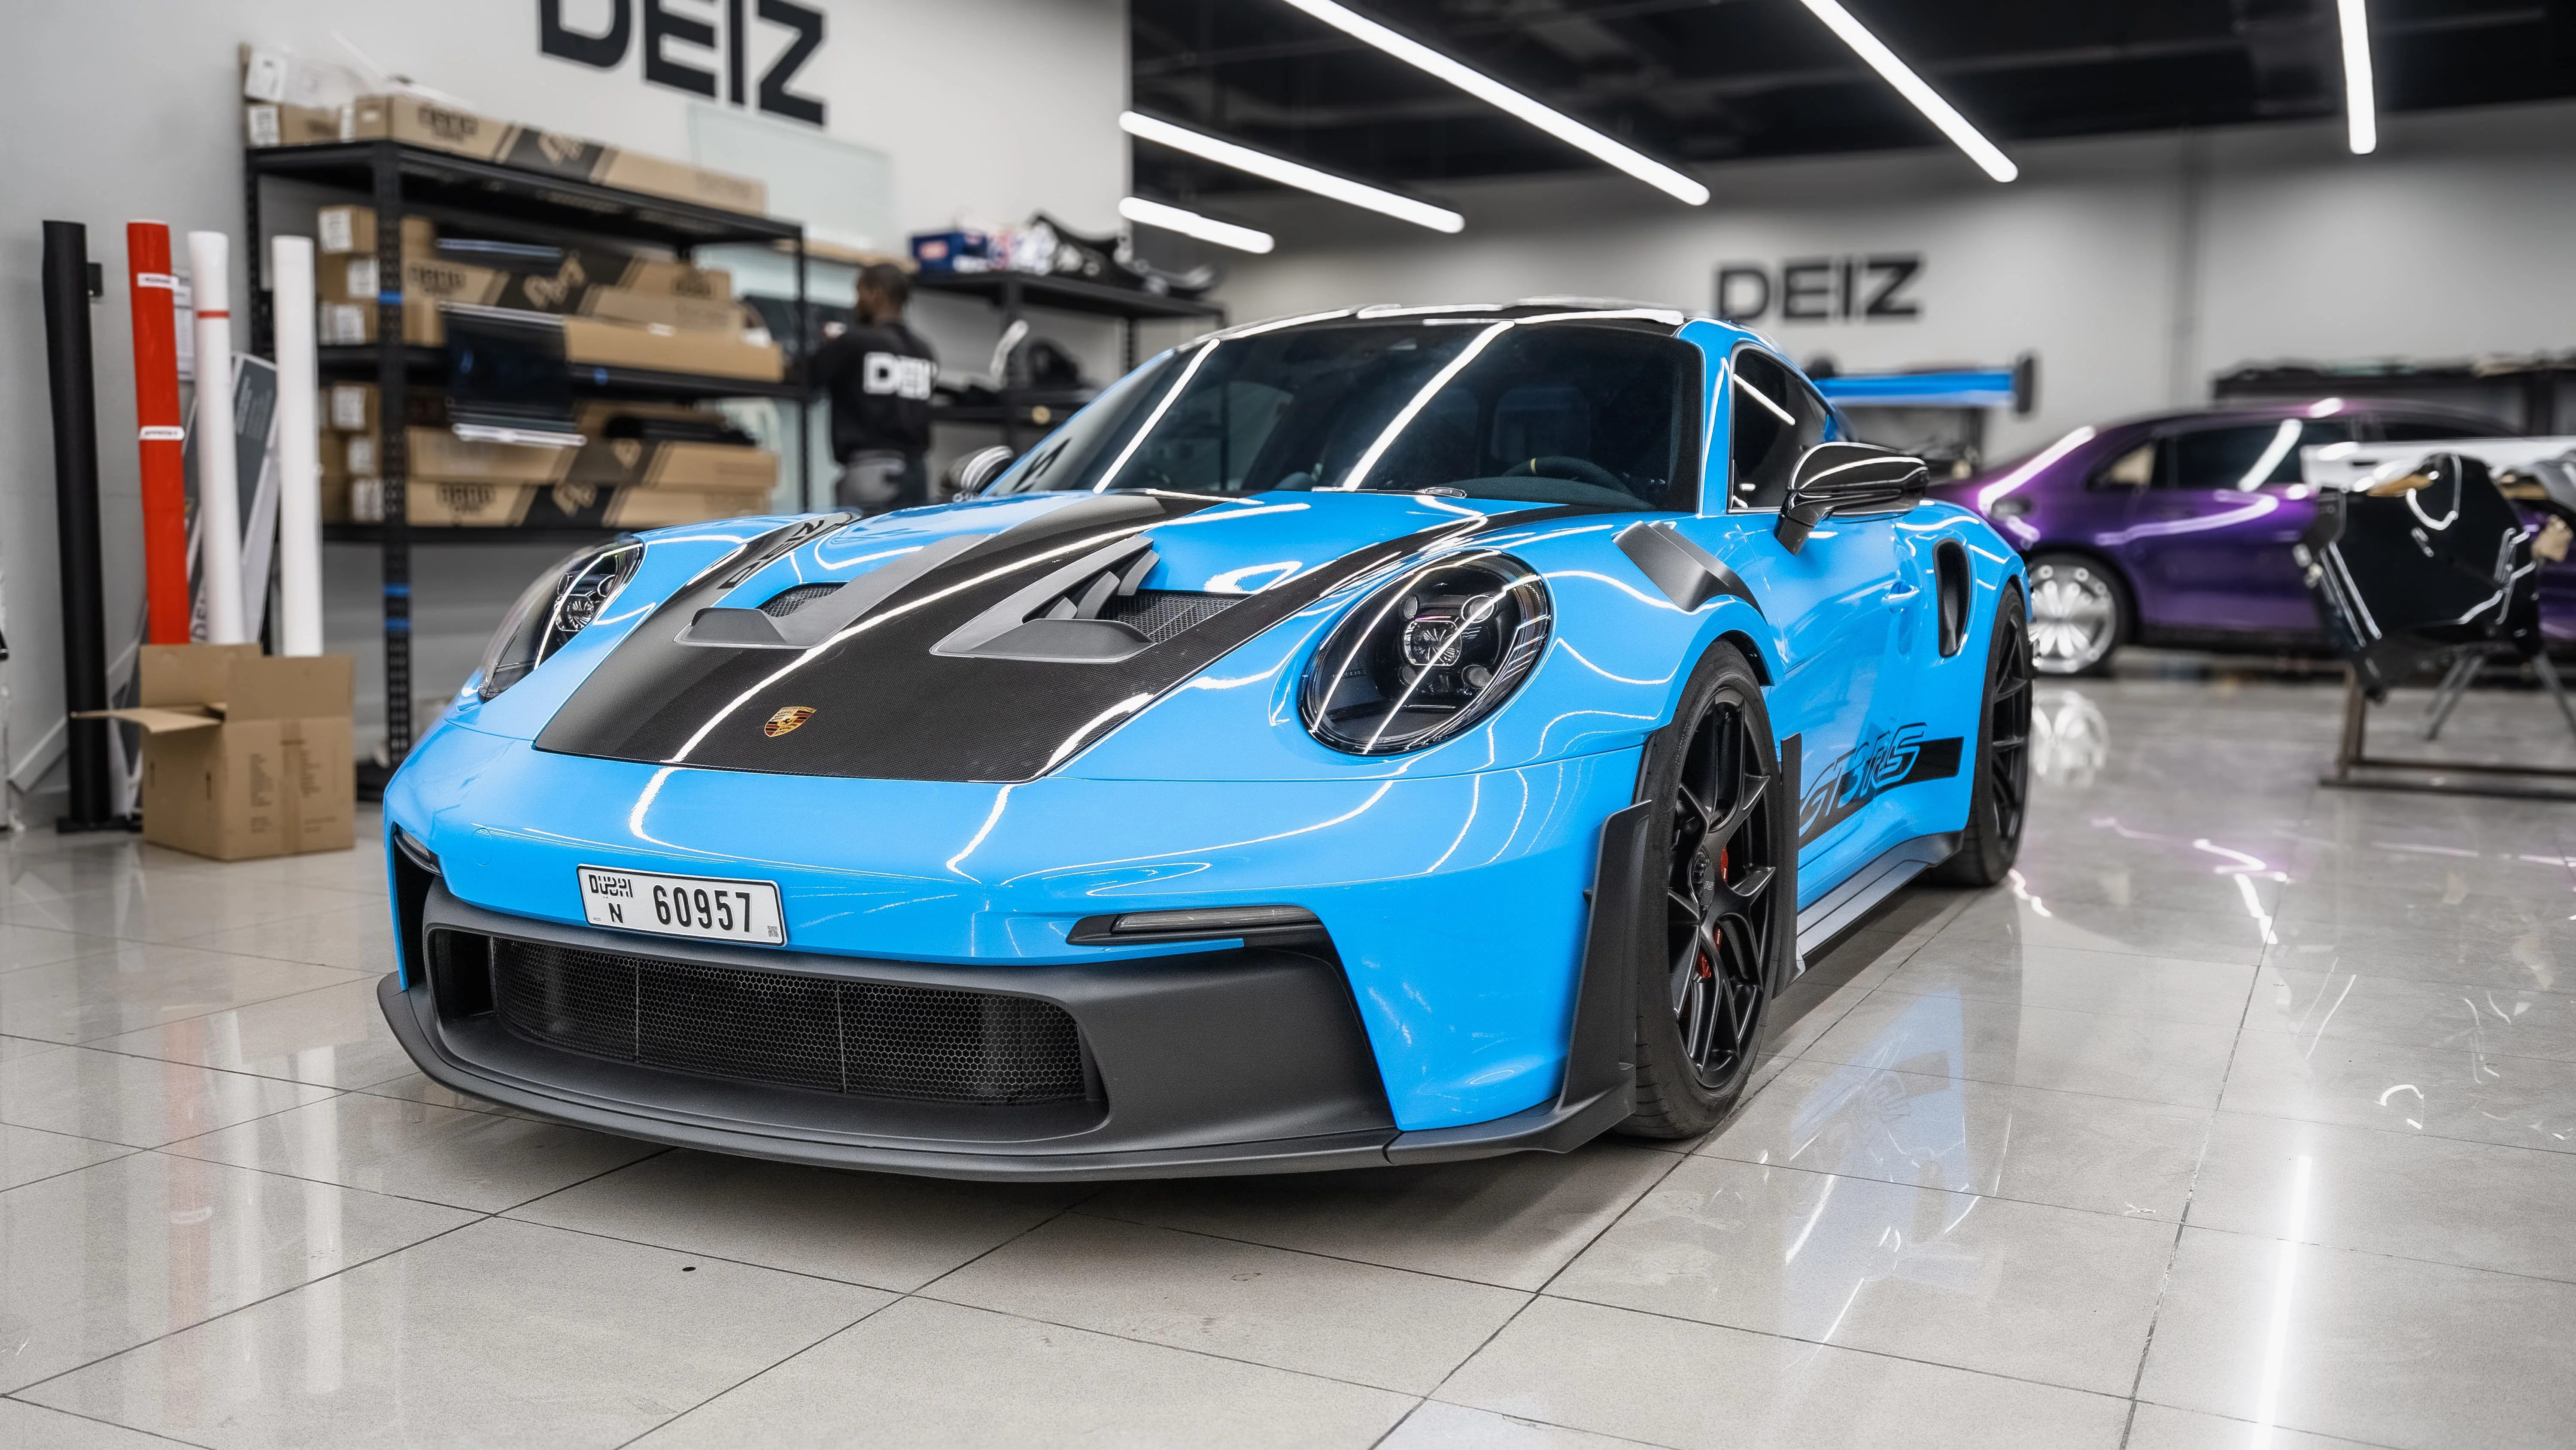
A clear workshop process has visible stages: inspection and diagnostics, scope and timing, installation and finishing, then quality control with a delivery briefing. DEIZ states that it does not outsource to contractors and that work is completed under one roof.
Before approving installation, inspect the vehicle with the workshop representative. Confirm the recorded paint condition, agreed repairs, badge plan, colour choice, and any concerns around previous repainting. Photograph existing chips, scratches, and defects. It takes little time and removes arguments later.
FAQ
Should I inspect the original paint before a custom-color wrap if I may sell the car later?
Yes. Photograph the paint, panel edges, trim, and existing defects before installation. A vinyl wrap can be removed, but it should not be treated as proof that the original paint was perfect or as a promise of a resale outcome.
What records should I keep before a color-change wrap?
Keep dated photographs, the workshop job card, colour details, any repair invoices, and written notes about pre-existing paint defects. Retain any approval or registration documents required for the vehicle's emirate and use case.
Which Dubai checks should be completed before listing a wrapped car for sale?
Confirm that the vehicle's recorded colour and registration details meet the requirements that apply to its current emirate. Check with the relevant authority and insurer before installation, then retain the resulting documents for a future buyer.
What should I ask the workshop about removability and original paint?
Ask how the workshop will document existing paint defects, assess previous repainting, clean panel edges, and handle loose trim. Discuss removal risks where paint is already damaged, because vinyl film should not be applied over unstable paint.